I have so many recipes to blog about, but I wanted to sneak in my first completed project because I am absolutely in love with it! Found this one on Pinterest too, came from someone's blog. So glad these people are blogging about such amazing things so that I can try them too!
If you know me at all, you know I am OBSESSED with pictures! I feel like you can never have enough pictures of anyone! I don't want to forget a single moment! So when I found this project I was really excited because it allows me to nicely display at least 24 of my favorite pictures ;) I really liked this too, because I could do it for cheap. I have to say, the ONLY time I print pictures (at Walgreens) is when I have a coupon code, which they have coupons pretty much daily! When I found a great deal for printing my pictures, I picked about 35 of my favorite so I would have some options when I finally laid them out on the board.
What you need:
- Mod Podge Matte (the glossy kind might leave a glare)
- Double sided tape
- Foam brush (will probably come in a pack of 3 or so, but you just need 1, not too small)
- 1- 20x30 foam board. I used black, thought it was more "nice" looking than white.
- Poster hangers... the ones that stick. The brand is Command. For hanging posters and such.
- At least 24 pictures... I recommend printing a few extra just incase one can't be cut to size or you change your mind about one.
The first thing I did was cut up some 4x4 squares of computer paper, just to make sure they'd all fit right and get an idea of how I would space them. Then I used one square as a template to cut out my pictures. After I cut all my pictures, I laid them out on the board and played around with them a lot on where I wanted each picture. I got out the double sided tape and starting taping away! There is no exact measurement for the placing of the pictures. The only measuring I did was made sure the pictures on the outside were 1 inch from the edge... and from there, I evenly spaced and placed them as much as I could. I recommend starting from the outside.
I taped all the pictures, placed them evenly on the board 1 inch away from the edge and now for the Mod Podge! I took a paper bowl, poured some Mod Podge in it, dipped the end of my "big" sponge brush in it and started painting!
My husband got carried away with the pics lol :) Painting the pictures might be a bit scary because you may feel like you're ruining them, but you're not! I don't really have instructions on how to paint it on, I just made sure it wasn't too thick and tried to make sure it was all evenly painted. The instructions I read for this project was that she let it dry overnight, but I did this early in the day and it only took about an hour to completely dry. Here's what it looked like when I was done slapping on the Mod Podge!
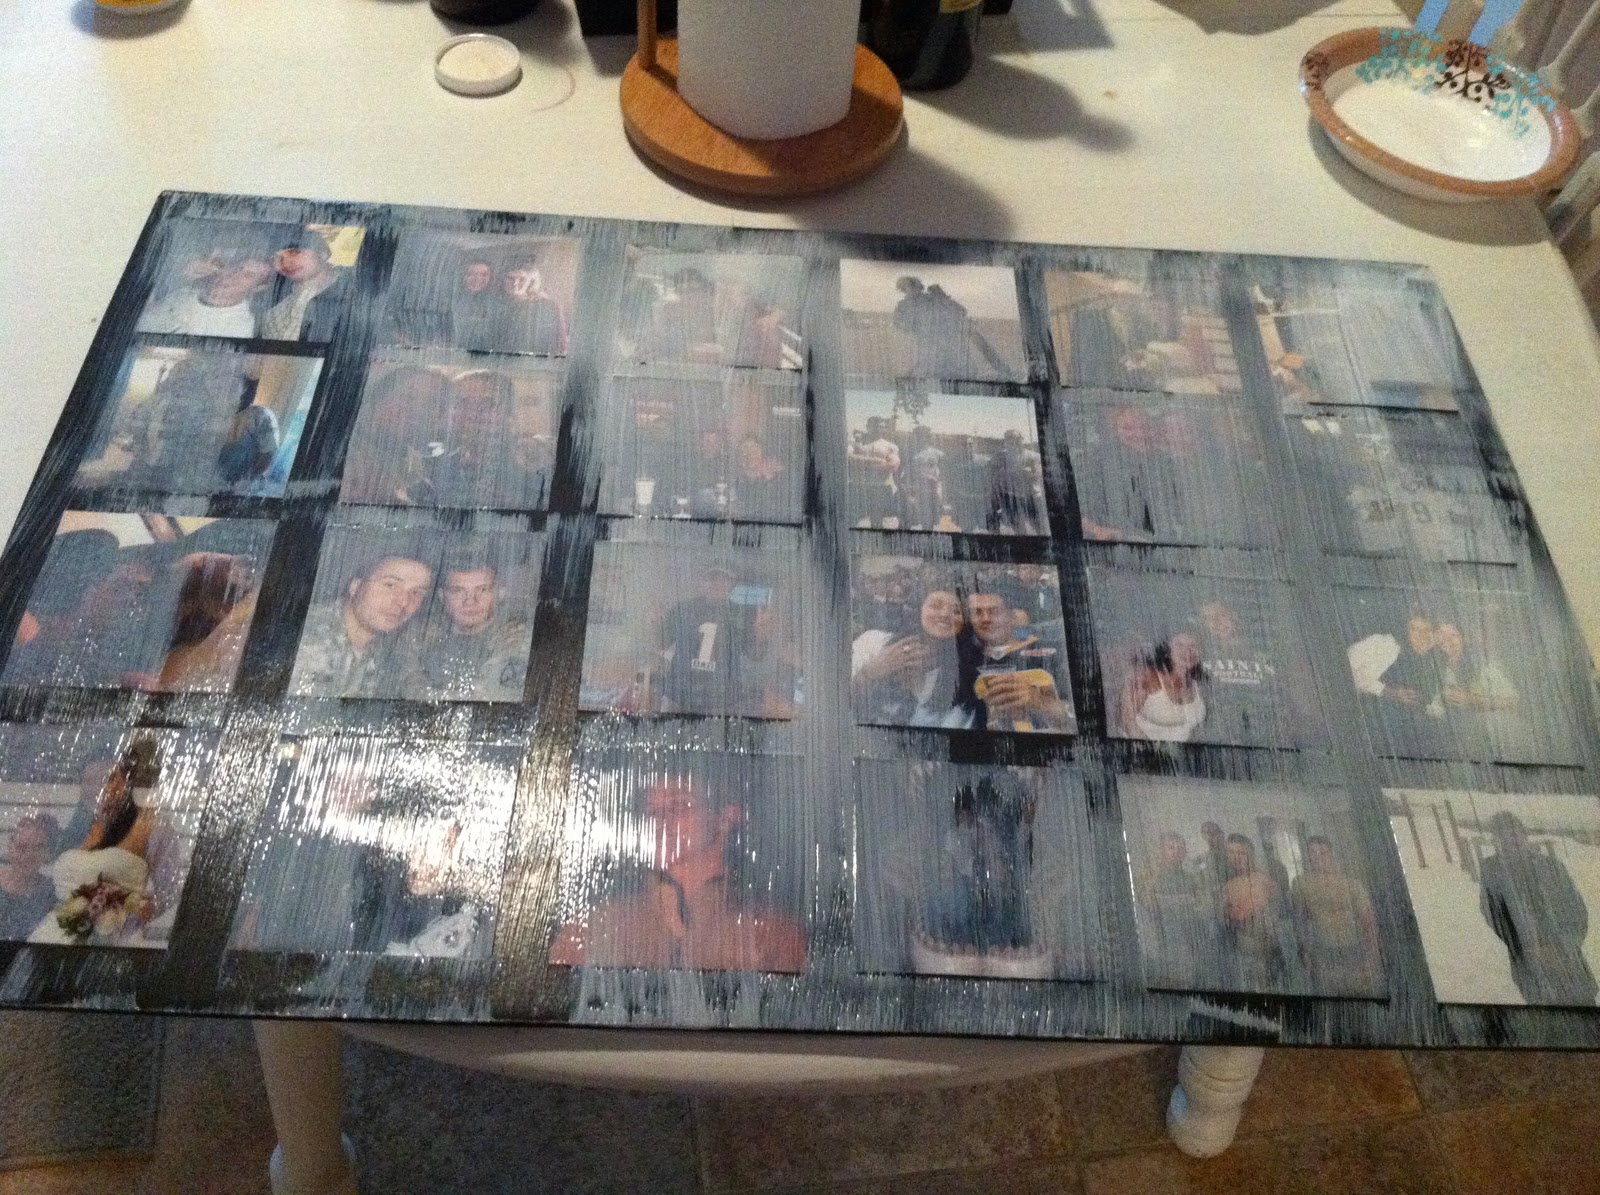
Scary lookin' huh? But here's what it looks like when it's completely dry!
How do you like it?! I LOVE it! Still haven't found the perfect spot to hang it in our apartment, but I can't wait to make another! I think my next one will be a theme, like our wedding or my husband's deployment in Iraq! Yayyy!!
I've been "away" a while trying to catch up on sick days at work and spending time with Jordan since he's been back from the field. A couple days after he got back, we finally decided it was time to get a dryer for our apartment (it came with a stacked washer/dryer combo, but the dryer part broke). And we also decided to get the Big Screen TV and Playstation 3 he has been dreaming of since before we even started dating, so we headed to the PX to get it all tax-free! It was a long day for us, as we decided to do our grocery shopping that day too. We got home that night and he immediately started setting it all up while I made salsa! Here he is so proudly putting up the TV ;)

- 4 med-large tomatoes, diced
- 1 jalapeno, seeded and minced
- 1/4 cup chopped red onion
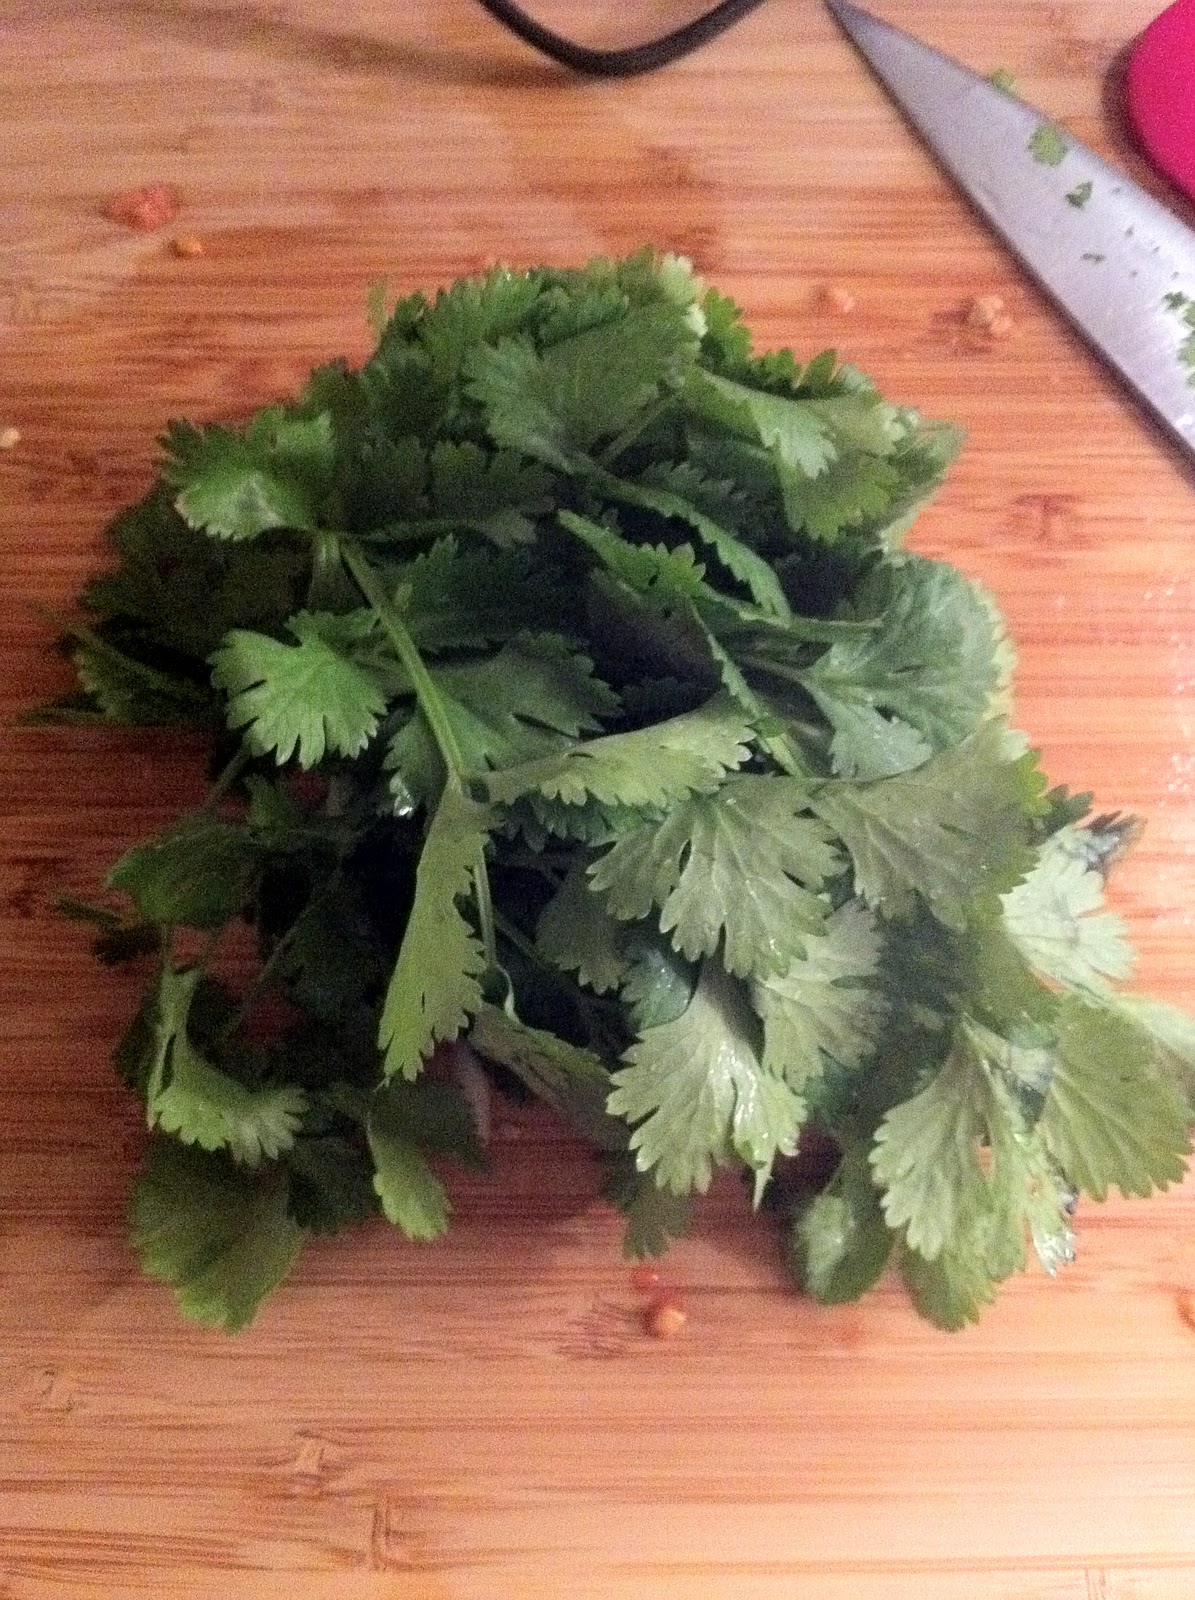
- 1/2 cup chopped cilantro
- 3 cloves garlic, minced
- 1 tsp salt
- 2 tbsp lime juice
- 3 tbsp olive oil
- 1/4 cup chopped red onion
I used my Ninja for all the dicing and chopping. Worked perfect for salsa! I did the tomatoes first, then added the rest of the ingredients.
This last picture above is pre-mixture of course. Pretty, huh? So just mix everything together and that's it!
You can't tell from the pictures, but this makes A LOT! A little over 6 cups! I tried this picture to show how much it makes...
Enjoy! I'm off to make more of this right now! :)